Setting Up Jekyll and Hosting
In this post, I will describe steps I made to setup this Jekyll-based site. Starting from a local environment configuration up to hosting on production.
At the end of the post, there is a list of useful links that might help you to do the same configuration.
Setting Up Local Environment
A local environment setup was straightforward. I installed Jekyll. I’m using Visual Studio Code as a code editor. I’ve created dmitryrogozhny.github.io repository to store site’s code.
After that, I’ve created and committed to the repository simple index.html and 404.html to use them as stubs for the site.
Custom Domain Name
I’ve bought dmitryrogozhny.com domain name for the site. I’ve used GoDaddy, so I’ll reference its administration panel to describe the configuration process later.
Selecting Hosting for the Site
The advantage of Jekyll as a static site generator is that the final site is a set of static files. That means that you only need to host these files with no additional dependencies. You can choose any hosting provider you like.
I was selecting between two hosting options:
- Github Pages hosting—this is a hosting for static sites provided by GitHub. It supports integration with Jekyll via a GitHub repository which allows you to automatically regenerate site on each commit. It’s possible to attach a custom domain to the site, and with some additional configuration setup a secure HTTPS connection for it. And it’s free.
- Amazon hosting—it’s possible to use S3 bucket on AWS to host a static site. It’s cost effective option with a support for a custom domain name and HTTPS connections.
I ended up selecting Github Pages due to a better GitHub integration.
Configuring GitHub Pages
As I’ve already created a GitHub repository for the site, so I configured it to use my custom domain name. Here’s the GitHub Pages section settings for the repository:
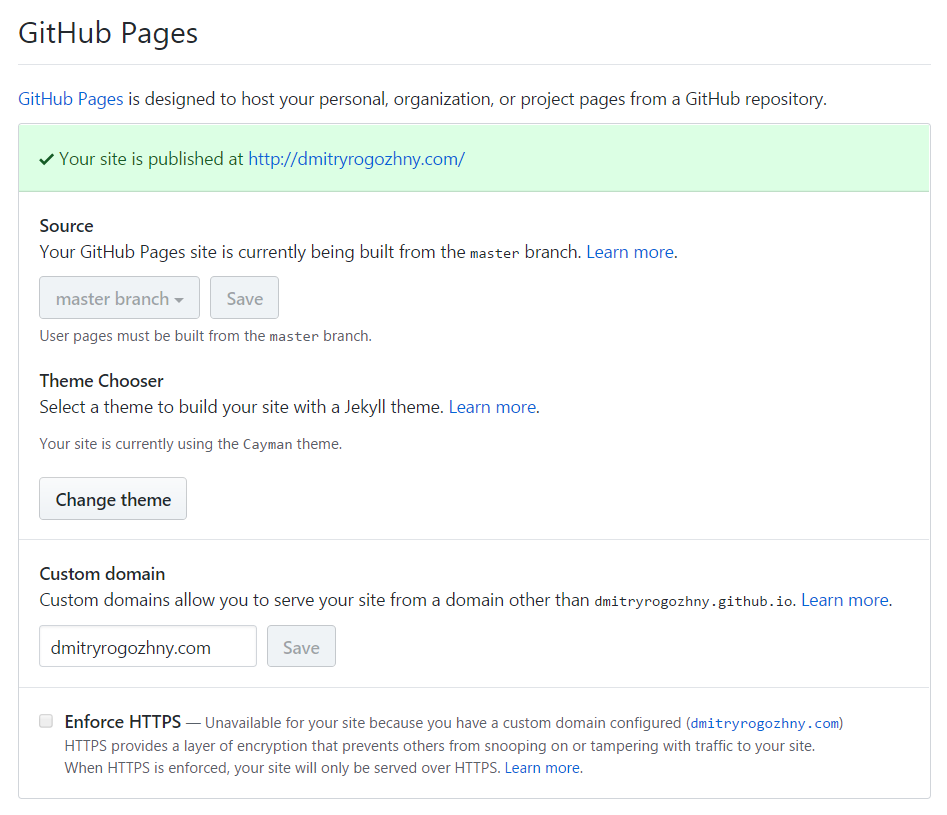
Additionally, I’ve created and committed into the repository the CNAME file with the content of dmitryrogozhny.com in it.
After that, the site became available at both http://dmitryrogozhny.com and http://dmitryrogozhny.github.io.
Configuring HTTPS for GitHub Pages
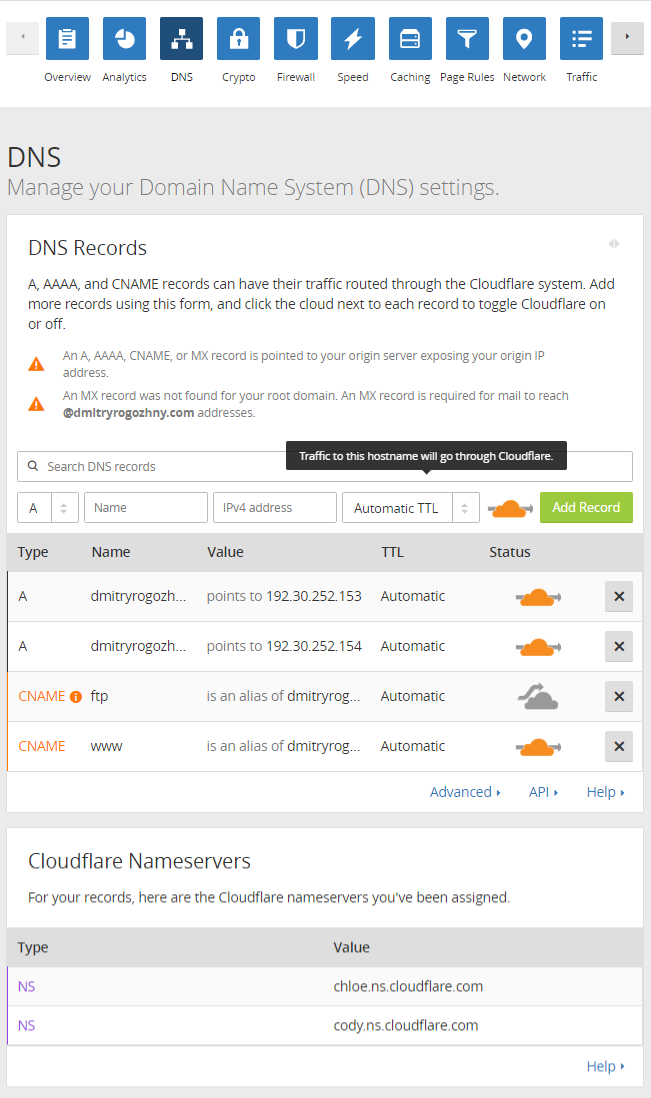
GitHub Pages does not support HTTPS connections for custom domains. In order to configure HTTPS for the site with a custom domain name, I configured the connection via a CloudFlare CDN provider. CloudFlare provides a free plan that allows to setup a custom domain, HTTPS connections, and caching.
My CloudFlare configuration for DNS looks like this:
Configuring Domain Settings
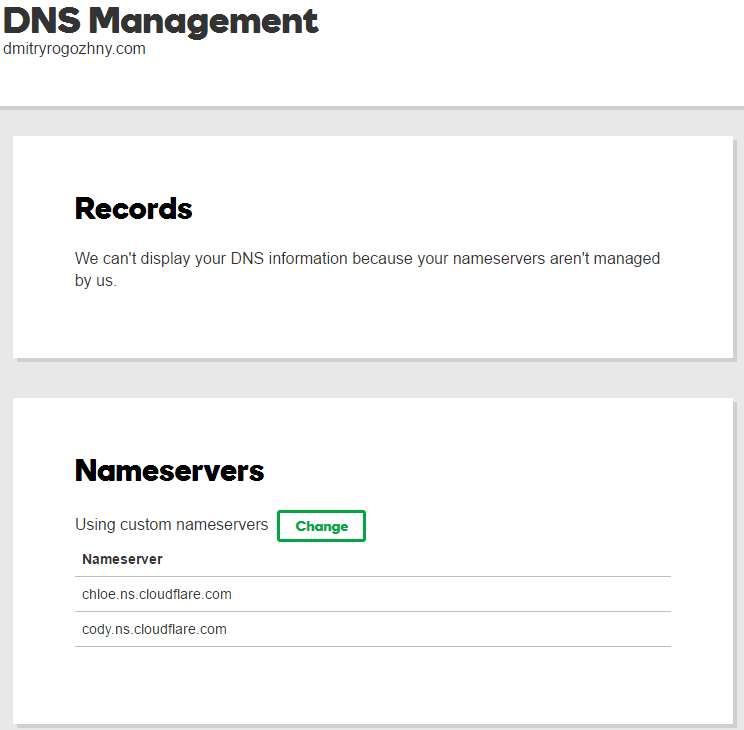
As part of configuring CloudFlare to work with my custom domain, I had to specify its nameservers in the GoDaddy administration panel. So in GoDaddy administration interface I ended up with the configuration like below:
Testing the Final Configuration
With all the configuration applied, I’ve navigated to https://dmitryrogozhny.com to see the first version of the site.
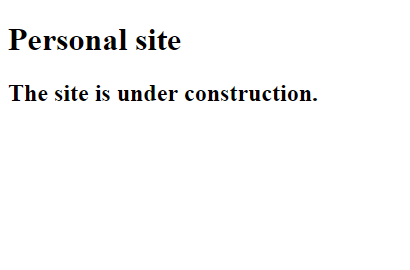
It’s alive!
Now, with all the infrastructure in place, I can start designing and implementing the site.