Saving Data from Forms into SharePoint List with Power Automate
In this post I’ll show how you can capture data with Microsoft Forms and store it in a SharePoint list. We’ll configure a Power Automate flow that will connect Forms and SharePoint.
I’ve previously wrote about a scenario when we were receiving a feedback from users on intranet, using Forms, a PowerAutomate flow and an Excel file as a data storage. This scenario is similar, but this time we’ll be using a SharePoint list to store the data.
Creating Form
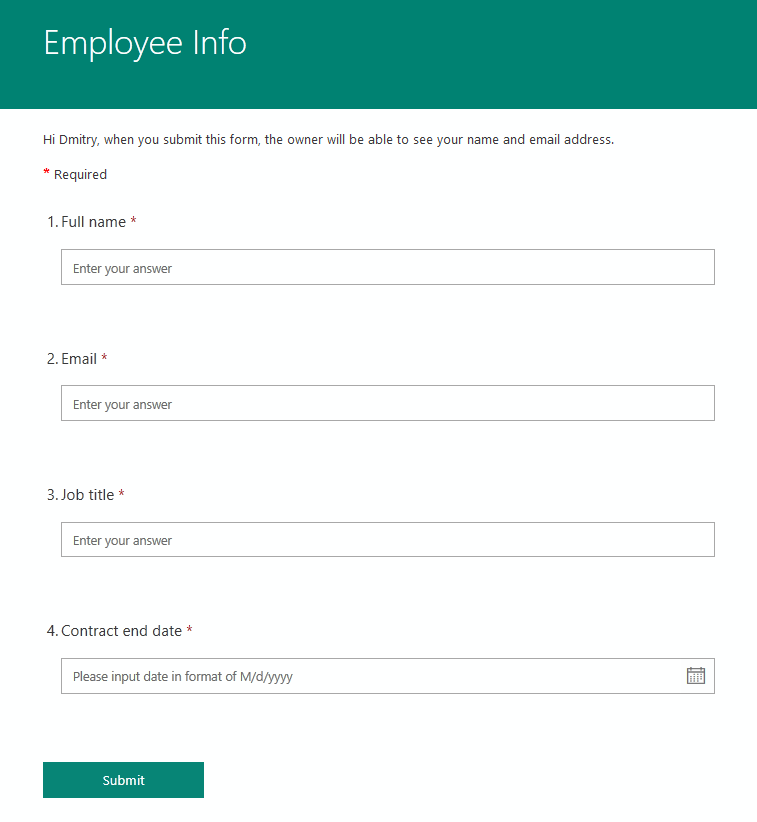
Let’s start by creating a form. I would like to capture the following information about an employee: full name, email, job title, and contract end date.
Here’s how the final form looks like:
Now uses can submit data with this form.
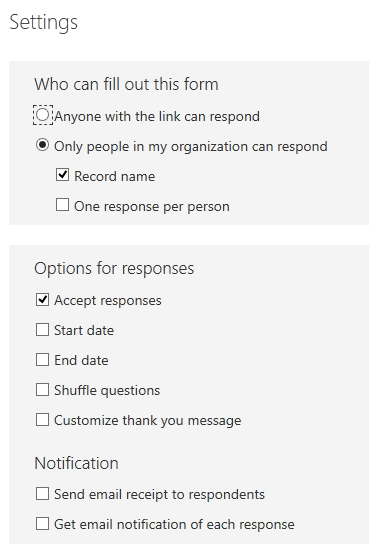
We can additionally modify the form’s settings to control who can submit data, add notifications, change colors. Also we can add multilingual support:
Configure SharePoint list
Next, let’s create a new SharePoint list. I will rename the existing Title column into Full name, and will add the rest of the columns: e-mail, job title, and contract end date.
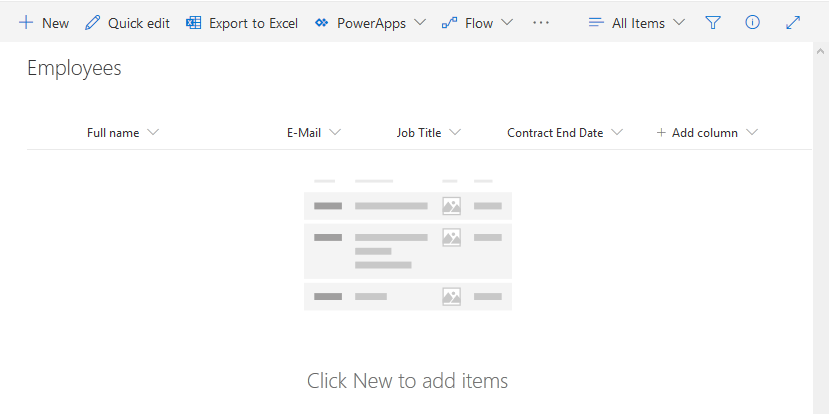 Now we’ve got a place to store the data.
Create Flow
Now we need to connect our form and list. I’ll create a new flow that will do that. Here’s how the flow looks like:
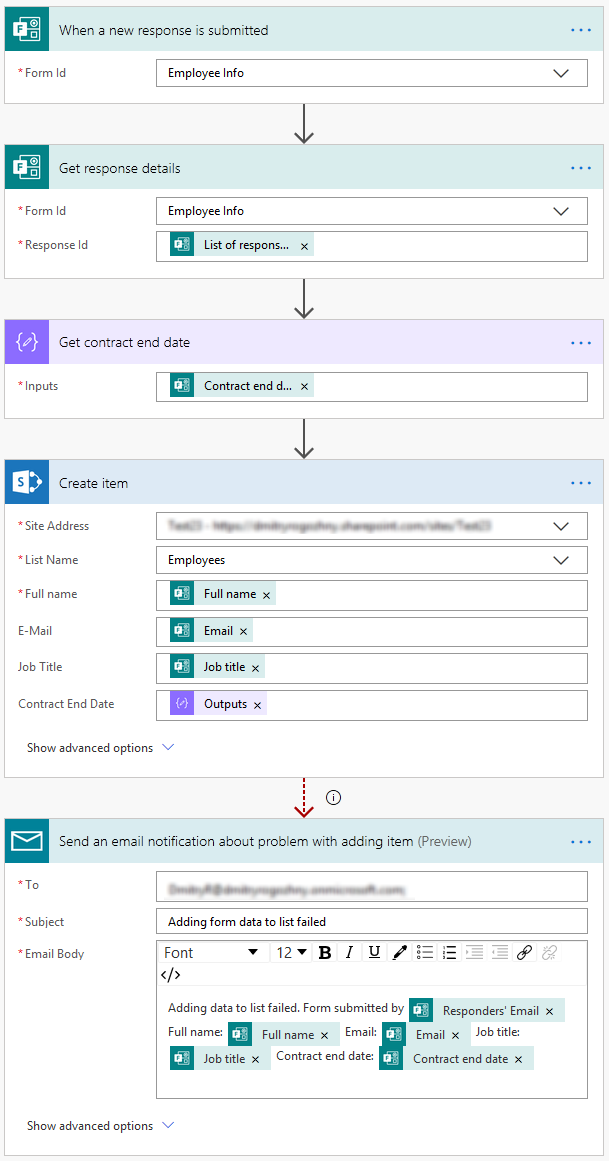
The flow starts on new data submission in the form. It will get the values provided and create a new item in a target list.
There is an additional Compose action that takes the Contract end date value which later is used in the Create Item action. This is needed as the value for the contract end date is not shown as the dynamic content for the SharePoint Contract end date column.
Also note that there is an additional action at the bottom, right after creating an item in SharePoint. This action will run if inserting in a SharePoint list will fail. This way the process owner will get notified about problems and will handle them.
Improving solution
We have implemented a basic scenario that captures some data with Forms and saves it to a SharePoint list.
There are additional steps that can be performed to improve the solution:
- Define and configure access permissions for the list. Only users involved in a process should be able to access it.
- Make the form and the list available for users: email a link to a form or share in Teams, add a link to a list to a navigation menu.
- Add approval or notification flows for the list. For example, we can notify list owners about new and modified items or request approval for new items.
- Configure default and additional views for the list depending on a scenario.
- Configure column sorting, filtering and formatting as needed. For example, we can highlight contract end dates that are due soon.
Also remember that an automated process requires an owner that will be supporting the process, and that the process and its configuration should be documented properly.