Running Telegram Bot with Node.js and Azure Functions
Here’s a quick example of how to implement a Telegram bot with Node.js and deploy it with Azure Functions.
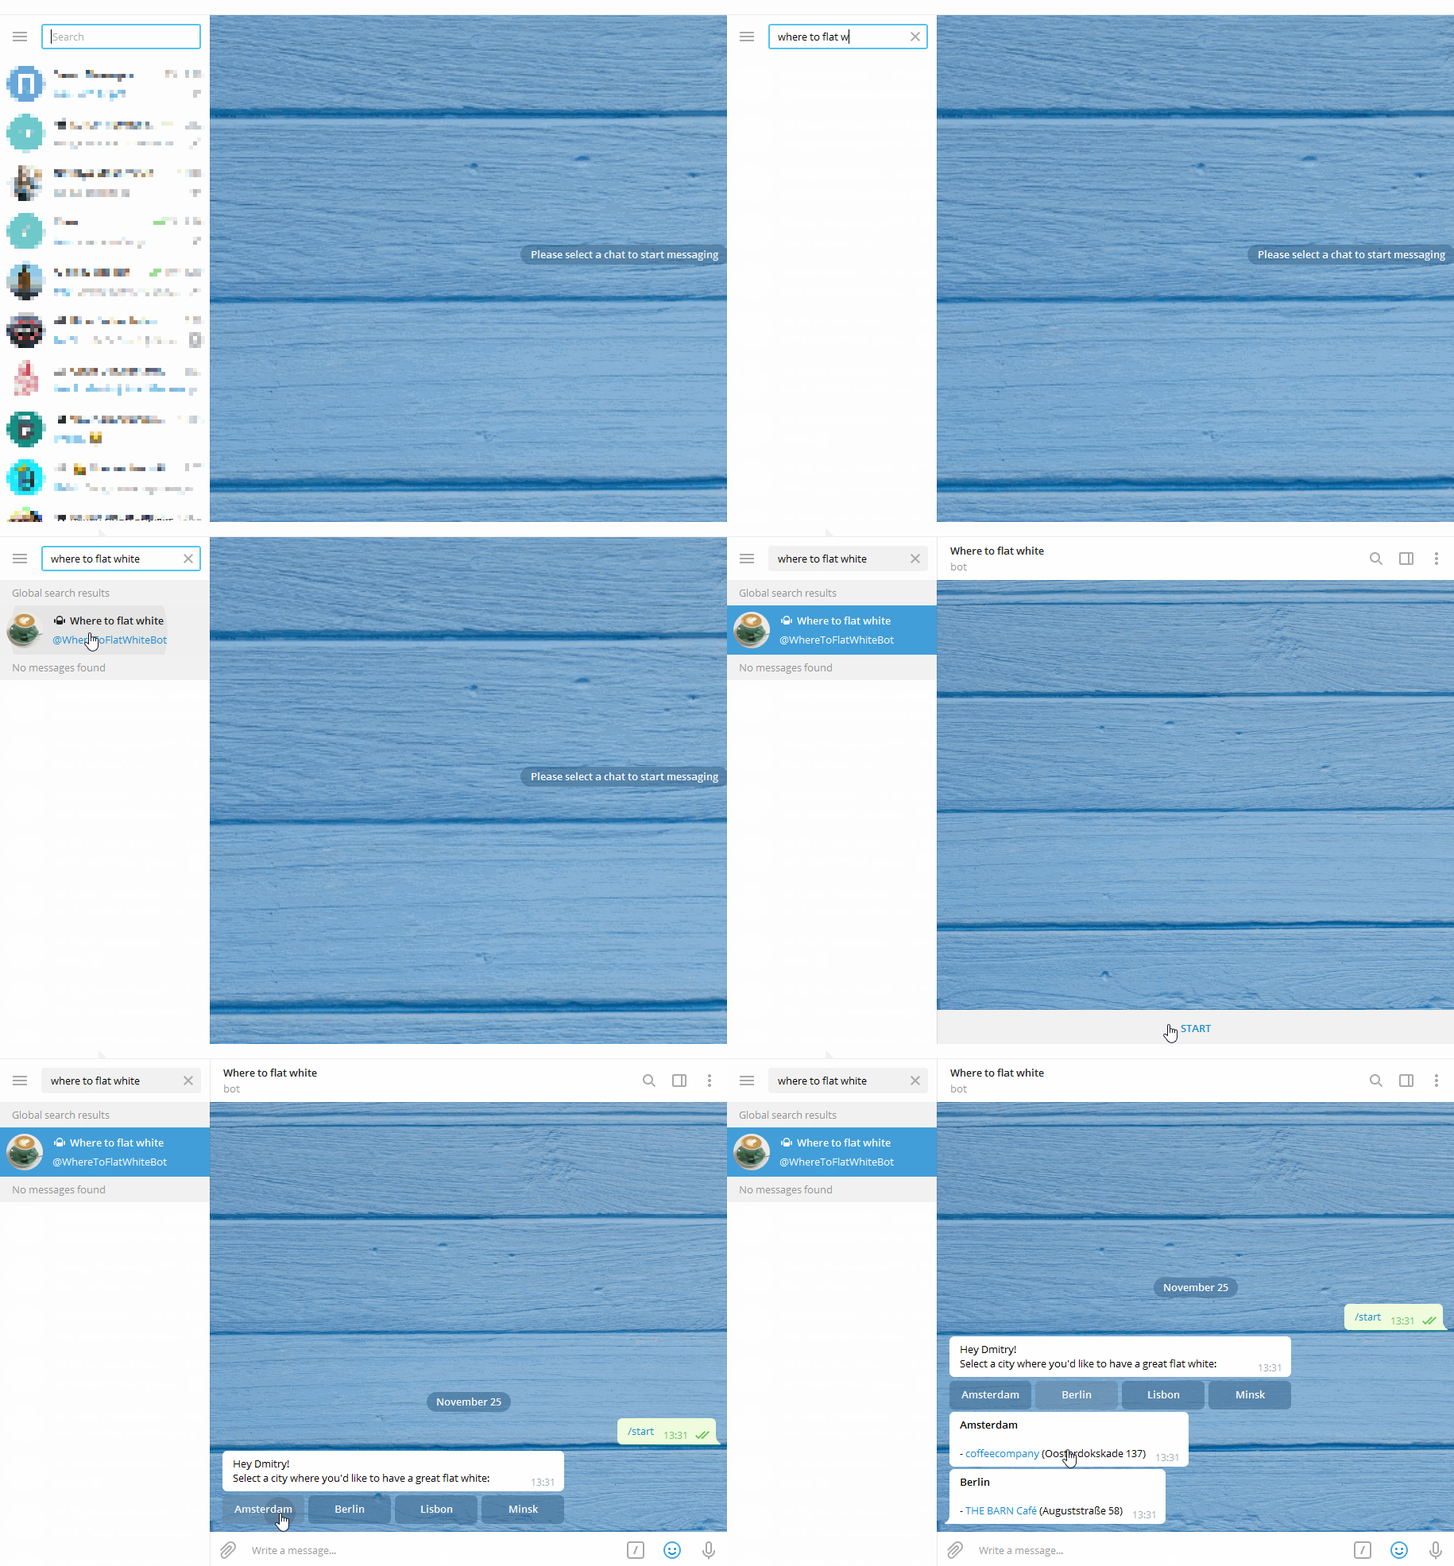
I’m going to implement a @WhereToFlatWhiteBot bot that will advise on places with a great flat white around the world:

This bot shows a set of buttons for available cities. When a city is selected, the bot will show coffee places and some additional information.
The source code is available in the where-to-flat-white GitHub repository.
We can split the implementation into three steps:
- Register new bot in Telegram with the @BotFather account.
- Create new Azure Function project.
- Implement the bot’s logic.
In this post, I’ll concentrate on the bot’s source code. I will briefly mention the bot registration part and the Azure function creation process.
1. Register new bot with @BotFather
Here’s the official guide on how to register a new bot. Once registered, you’ll get a toke for your bot that will look something like that: '1030725119:AAEnqsUCI5a-XxNVBffRXwWM5LmBAuMBF1Y'. Keep it safe, you will use that token later.
Additionally, you can specify a title, description, and image for your bot.
For my demo, I’ve created the @WhereToFlatWhiteBot bot.
2. Create new Azure Function project
Here’s the guide on how to create new Azure Function project in VS Code.
For my project, I’ve additionally added two application settings: "TELEGRAM_BOT_TOKEN" that will store the bot token and "WEBHOOK_ADDRESS" that will store the Url of the created function. I’ll use them in the code to initialize my bot.
3. Implement the bot
The source code for the bot is in the index.js.
The data for cities comes from markdown files that are deployed with the function. For every city, there is a markdown file with the same name.
I’ve used the telegraf.js library for my bot. It is a modern Telegram bot framework for Node.js. This framework makes it easy to work with Telegram Bot API.
I’ve added telegraf.js to my project with npm install:
npm install telegraf --saveAfter that, we can initialize the bot and configure it:
const bot = new Telegraf(process.env["TELEGRAM_BOT_TOKEN"], { webhookReply: true });
bot.telegram.setWebhook(process.env["WEBHOOK_ADDRESS"]);

bot.on('callback_query', getCity);
bot.on('sticker', welcomeMessage);
bot.hears(/^/, welcomeMessage);
bot.catch((err, ctx) => { console.log(`Error for ${ctx.updateType}`, err); });
I create a new bot and pass the token to it. Also I specify that the Telegram should send requests to my Azure Function every time the bot is requested (by setting web hooks address).
After that, I configure the bot to listen for incoming messages and display a welcome message (processed by the "welcomeMessage" function). When a user selects a button for a city, the "getCity" function should be called. It will return available information for the selected city. The "bot.catch" will fire in case of errors.
This is all we need for the bot logic.
As for the Azure Function, every time a request hits it, it will take the request body and run the "bot.handleUpdate" function to process the Telegram request.
Deploy and run
Finally, we can deploy the function and access the bot. It will greet us with the welcome message and will return information about great coffee.