Moving Footer from SharePoint Starter Kit. Part 5: Deploy and Add to Site
This time we’re going to look at how to deploy the package to a tenant and how to add the footer to a site.
Building a package
You can use an already built portal-footer.sppkg package available in the repository.
If you want, you can also build the package by yourself:
gulp clean
gulp bundle --ship
gulp package-solution --ship
This will build the package using the latest version of the source code.
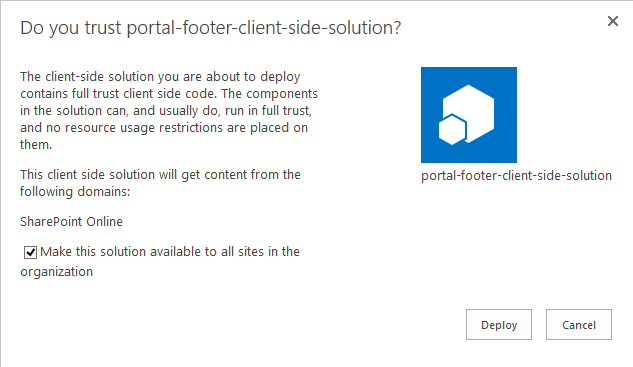
Deploy package to the App site
Now we need to deploy our app to the App catalog site collection. When asked, I select that the solution should be available to all sites in the tenant. After that, we can add the footer on sites.
Add footer to site
We can add the footer to a site by adding it as custom action. This can be done in PowerShell (I’m using PnP PowerShell cmdlets here):
Connect-PnPOnline SITE_URL
Add-PnPCustomAction -Title "PortalFooter" -Name "PortalFooter" -Location "ClientSideExtension.ApplicationCustomizer" -ClientSideComponentId 57e0a101-017b-4b4f-8f06-c0d29cd53092 -ClientSideComponentProperties "{`"linksListTitle`":`"PnP-PortalFooter-Links`",`"copyright`":`"Ⓒ Copyright Contoso, 2019-2020`",`"support`":`"[email protected]`",`"personalItemsStorageProperty`":`"PnP-CollabFooter-MyLinks`"}"
Here SITE_URL is the url of the site you want to add the footer to.
Changing footer settings
If you need to change settings for a footer, for example, a support email, you can do that by removing existing footer and adding a new one with updated settings.
In the snippet below, we connect to a site, list all custom actions to find the Id of the portal footer. Next, we remove this custom action (replace ACTION_ID with your footer’s custom action id) and add a new one with modified settings.
Connect-PnPOnline SITE_URL

Get-PnPCustomAction -Scope All

Remove-PnPCustomAction -Identity ACTION_ID
Add-PnPCustomAction -Title "PortalFooter" -Name "PortalFooter" -Location "ClientSideExtension.ApplicationCustomizer" -ClientSideComponentId 57e0a101-017b-4b4f-8f06-c0d29cd53092 -ClientSideComponentProperties "{`"linksListTitle`":`"PnP-PortalFooter-Links`",`"copyright`":`"Ⓒ Copyright Contoso, 2019-2020`",`"support`":`"[email protected]`",`"personalItemsStorageProperty`":`"PnP-CollabFooter-MyLinks`"}"
Adding footer with site design
We can also create a site design that will automatically add a footer to newly created sites. For this, we need to create a site script like that:
{
  "$schema": "schema.json",
  "actions": [
    {
      "verb": "associateExtension",
      "title": "PortalFooter",
      "location": "ClientSideExtension.ApplicationCustomizer",
      "clientSideComponentId": "57e0a101-017b-4b4f-8f06-c0d29cd53092",
      "clientSideComponentProperties": "{\"linksListTitle\":\"PnP-PortalFooter-Links\",\"copyright\":\"Ⓒ Copyright Contoso, 2019-2020\",\"support\":\"[email protected]\",\"personalItemsStorageProperty\":\"PnP-CollabFooter-MyLinks\"}",
      "scope": "Web"
    }
  ],
  "bindata": {},
  "version": 1
}
Next, we can create a site design that will contain this script. Finally, we can assign the site design to a site.
This will add the footer to a site when a site design got applied.
ALTERNATIVE: If application is not deployed globally
There might be a case when your application cannot be deployed tenant-wide. In this case, the process of adding a footer to a site will be different.
The main difference is that you need to install the app with the footer on a site first. After that, the footer will be available.
Add footer to site
We can add the footer to a site by installing the footer app on this site. This can be done in UI by going to Site Content → New App → portal-footer-client-side-solution.
The same can be done in PowerShell (I’m using PnP PowerShell cmdlets here):
Connect-PnPOnline SITE_URL
Install-PnPApp -Identity APP_ID
Here SITE_URL is the url of the site you want to add the footer to; APP_ID is the unique id of the application. You can get the id by listing all the applications with the Get-PnPApp cmdlet.
After adding the app to the site, the footer will appear.
Changing footer settings
The process for changing footer settings will be the same as with a globally deployed solution.
Adding footer with site design
To add a footer that is not globally available with a site design, we need to create a site script like that:
{
  "$schema": "schema.json",
  "actions": [
    {
      "verb": "installSolution",
      "id": "APP_ID",
      "name": "portal-footer-client-side-solution"
    }
  ],
  "bindata": {},
  "version": 1
}
Final Thoughts
In this series we’ve moved the Portal Footer from the SharePoint Starter Kit to a separate solution. The same approach can be applied to other starter kit components. This allows to get a package that contains only needed components that can be modified according to your business requirements.